


- Choosing a selection results in a full page refresh.
Welcome to Smart E Shop
Welcome to Smart E Shop
Welcome to Smart E Shop
Welcome to Smart E Shop
Welcome to Smart E Shop
Welcome to Smart E Shop
Welcome to Smart E Shop
Welcome to Smart E Shop
Welcome to Smart E Shop
Welcome to Smart E Shop
Welcome to Smart E Shop
Available 24/7 at
(+92) 313-5865152
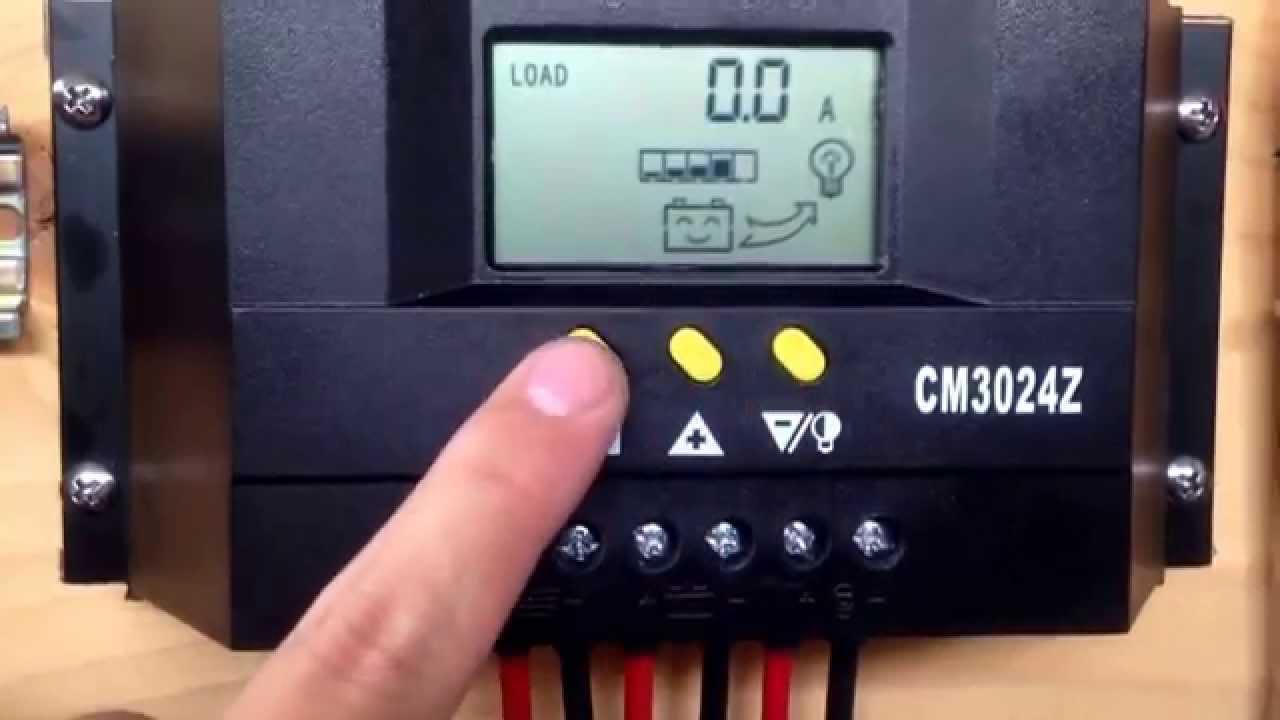
Features:
>>Image of LCD graphic symbol
>>Simple button operation
>>Automatic Identification System Voltage level
>>Intelligent PWM charge mode
>>Automatic Temperature Compensation
>>Adjustable charge-discharge control parameters
>>Settable Operating mode of Load
>>Overload, Short Circuit Protection
>>Remote monitoring and control function (custom)
>>Battery reverse-discharge protection
>>Battery Low Voltage Disconnection (LVD)
>>Battery reverse connection protection
>>Accumulated function of charge and discharge Ampere hours
Installation
1. Ready tools and cables. Encourage you to matching the right cables. Ensure that the current density<4mm2 that is conductive to reducing the line voltage drop. Recommended: 60A with 20mm2 cable. Check weather the installation sitescompliance with the relevant safety requirements. Please avoid the damp, dusty, there is a place flammable, explosive and corrosive gases use the controller to install.
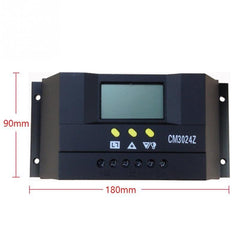
2. Install the controller into a fixed vertical plane. See section 5 of the pore size and pore spacing. In order to ensure a good thermal control conditions, please set aside each 10cm below the controller space.
3. As shown on the right, connect the (1) Load, (2) Battery and (3) Solar Panel to the controller according to the order of (1) (2) (3). Pay attention to the load, battery, solar panel and controller of same polarity.
4. Put into the external temperature sensor on the left of the controller (probe port). The temperature sensor should be similar space with battery. (Otherwise, the controller will control the parameters of all wrong temperature compensation.)
5.If you have remote monitoring and control function, please insert one end of the included communication wire on the right of the controller (communication port), the other end to connect to The host computer.
Demolition: To prevent accidents, please order the demolition of solar panels, battery and load disconnect with controller.
Note:Battery polarity will not damage the controller, but you will have a load equipment security risks.
Nam tempus turpis at metus scelerisque placerat nulla deumantos solicitud felis. Pellentesque diam dolor, elementum etos lobortis des mollis ut risus. Sedcus faucibus an sullamcorper mattis drostique des commodo pharetras loremos.Donec pretium egestas sapien et mollis. Pellentesque diam dolor cosmopolis etos lobortis.
You may return most new, unopened items within 30 days of delivery for a full refund. We'll also pay the return shipping costs if the return is a result of our error (you received an incorrect or defective item, etc.).
You should expect to receive your refund within four weeks of giving your package to the return shipper, however, in many cases you will receive a refund more quickly. This time period includes the transit time for us to receive your return from the shipper (5 to 10 business days), the time it takes us to process your return once we receive it (3 to 5 business days), and the time it takes your bank to process our refund request (5 to 10 business days).
If you need to return an item, simply login to your account, view the order using the "Complete Orders" link under the My Account menu and click the Return Item(s) button. We'll notify you via e-mail of your refund once we've received and processed the returned item.
We can ship to virtually any address in the world. Note that there are restrictions on some products, and some products cannot be shipped to international destinations.
When you place an order, we will estimate shipping and delivery dates for you based on the availability of your items and the shipping options you choose. Depending on the shipping provider you choose, shipping date estimates may appear on the shipping quotes page.
Please also note that the shipping rates for many items we sell are weight-based. The weight of any such item can be found on its detail page. To reflect the policies of the shipping companies we use, all weights will be rounded up to the next full pound.
| Drostique | Nam tempus turpis at metus scelerisque placerat nulla deumantos |
| Pharetro Lorem | Pellentesque diam dolor elementum etos lobortis des mollis |
| Milancelos | Donec pretium egestas sapien et mollis |
| Pellentesque | Sedcus faucibus an sullamcorper mattis drostique des commodo pharetras |
| Proin Molestie | Pellentesque diam dolor elementum etos lobortis des mollis |
| Cosmopolis | Donec pretium egestas sapien et mollis |
Get the latest updates on new products and upcoming sales
Thanks for subscribing!
This email has been registered!